How To Set Up an ILF Bow | October Mountain Products
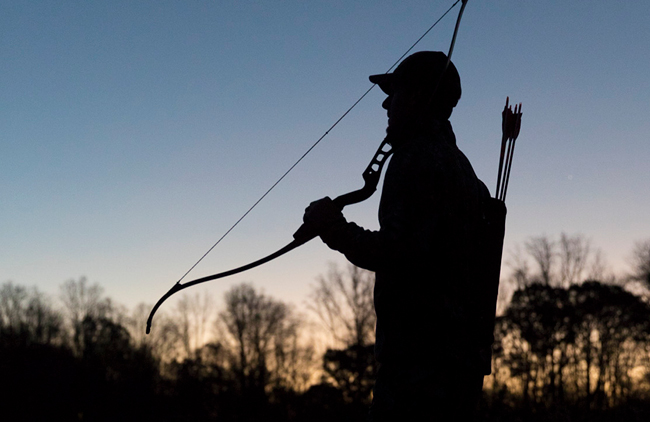
How To Set Up an ILF Bow
This video shows you how to set up an ILF bow step by step.
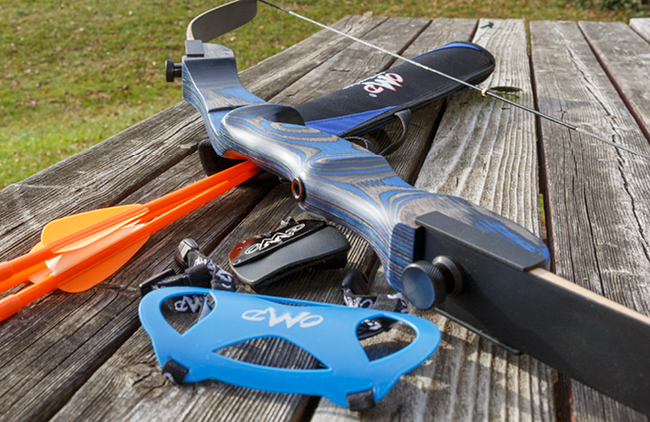
- The first step to an ILF bow setup is to slip the limbs into place (you will hear an audible click).
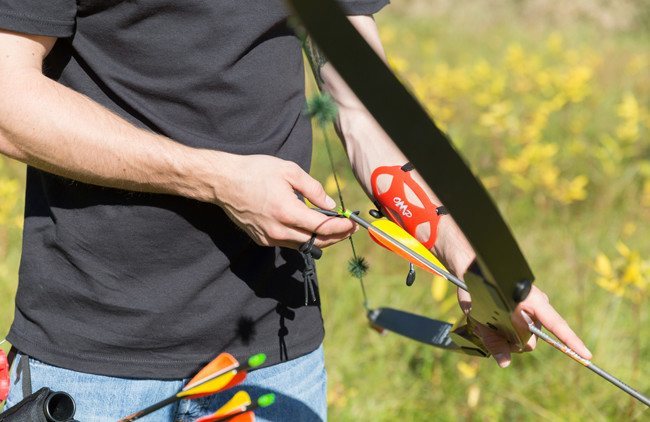
- Next, you will string the bow using a bow stringer. Each bow string has a small loop and a large loop that go on the bottom limb and top limb respectively.
- String the bow using the stringer following the video instructions.
- Check and confirm the brace height. As this video shows, if your brace height is a little short, restring the bow and apply some twists – shortening the bow but adding more length to the brace height.
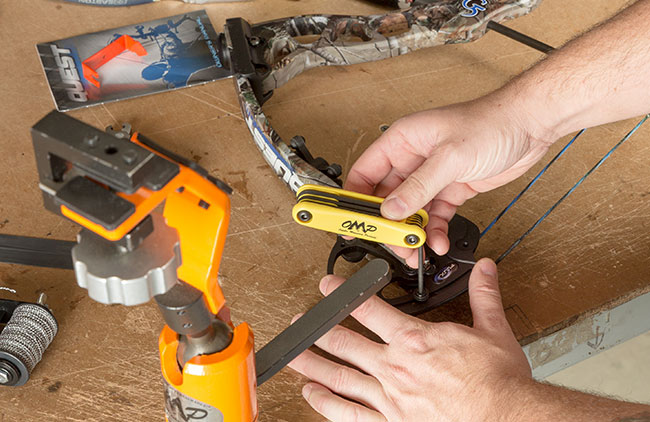
- Next check the tiller alignments, the goal being the bottom and top tiller measurements equal.
- After tiller adjustments, you’ll need to confirm if your string runs perfectly straight on both limbs and the riser.
- After the brace height, tiller adjustments, and center alignment, it’s time to put your bow rest on. After finishing this process, you want to make sure the arrow tip is just to the left of the string.
- Next, confirm your bow is level with the freehand bow leveling kit.
- Install your nocking point, you want an 1/8-inch-high off of level.
Check out October Mountain Products’ ILF Bows and limbs: