How to Paper Tune a Compound Bow: A Beginner’s Guide
Learn How to Paper Tune a Compound Bow Like a Pro
Tuning a compound bow is an essential step for archers of all skill levels. One of the most popular methods for tuning a compound bow is paper tuning. It’s a simple and effective way to ensure that your arrows are flying straight and hitting the target accurately. Paper tuning helps you to diagnose and correct any inconsistencies in the arrow’s flight path, which might be caused by an improper setup of the bow. We’ll break down the process into easy-to-follow steps for beginners and teach you how to paper tune a compound bow.
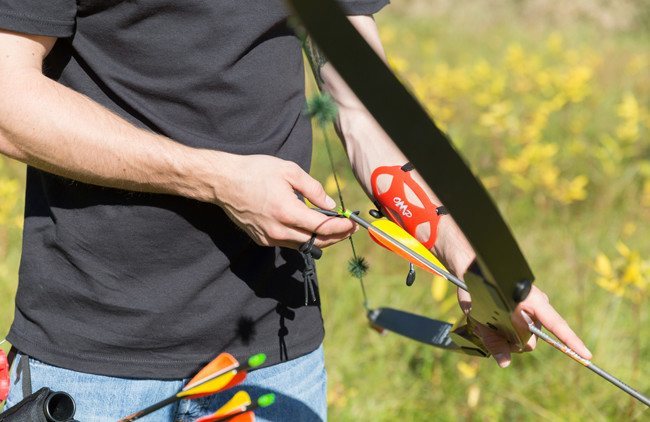
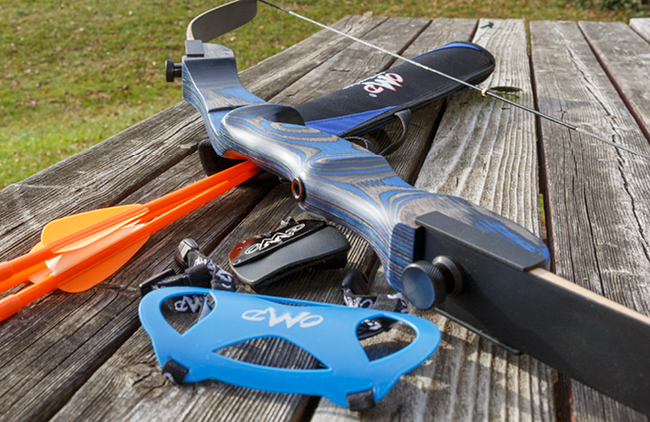
Tools You Need to Paper Tune a Bow:
- A compound bow
- Arrows
- A sheet of paper (newspaper, butcher paper, etc.)
- Paper Tuning Stand (can be homemade or purchased)
- Allen wrenches or other tools specific to your bow
Paper Tuning 101: Step-by-Step Guide
1. Set Up the Paper Tuning Stand:
Hang the paper in a frame so that it’s suspended tightly.
Place it at approximately chest height and make sure that the paper is large enough for the arrow to pass through.
2. Prepare Your Shooting Area:
Position the paper stand about 2-3 feet from where you’ll be shooting.
Ensure you have a safe backdrop to catch the arrows, like an archery target or a foam block.
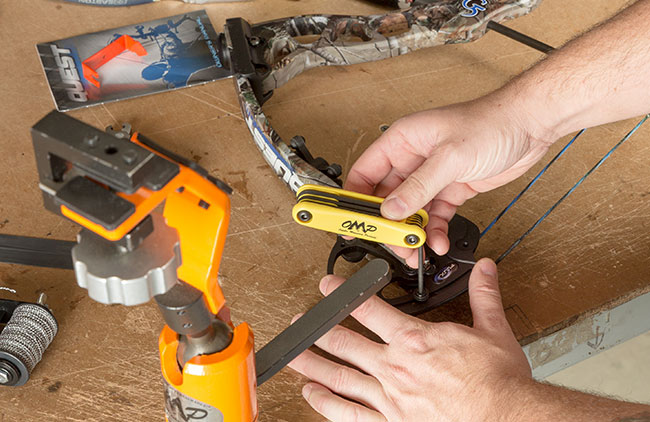
3. Ensure Basic Bow Setup:
Make sure your bow is set up with the proper draw weight, draw length, and nocking point.
Consult your bow’s manual or a professional bow tech if you’re unsure.
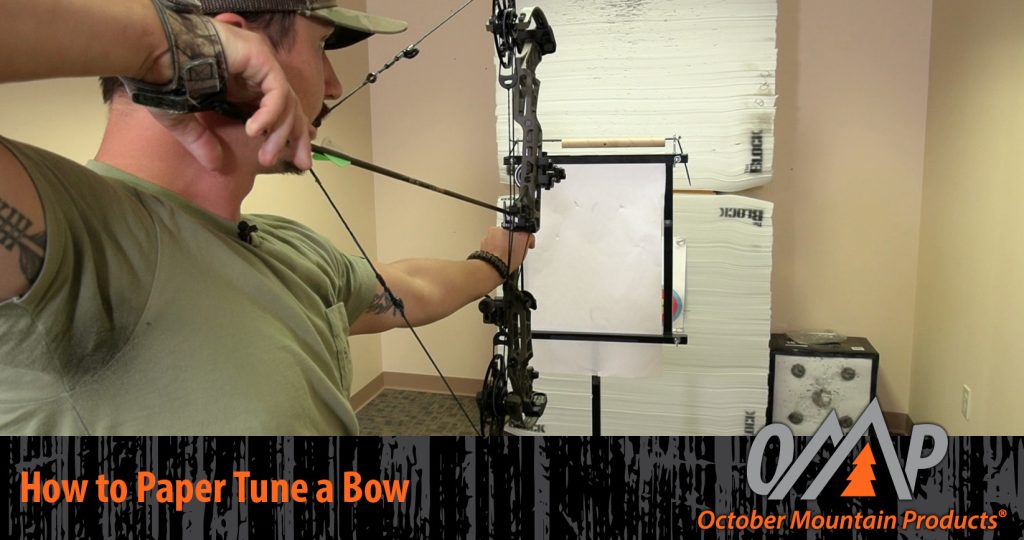
4. Shoot Through the Paper:
Draw and release an arrow through the paper into the target behind.
Keep your shooting form consistent.
5. Analyze the Tear:
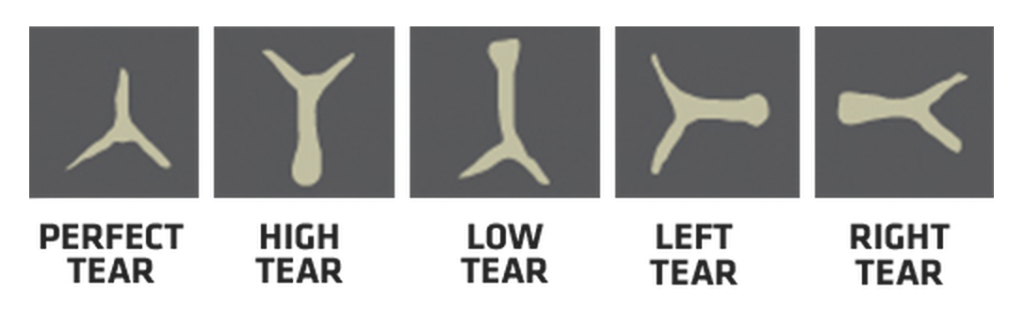
📸: GoldTip Tune Chart
Look at the tear in the paper where the arrow passed through.
The tear will provide clues about the arrow’s flight.
- A perfect vertical and horizontal tear (a “+” shape) means your bow is well-tuned.
- A vertical tear might indicate an issue with the nocking point or rest height.
- A horizontal tear may suggest a problem with the arrow rest alignment.
6. Make Adjustments:
Based on the tear, you may need to make some adjustments to the bow.
This might include:
- Vertical Adjustments: Moving the arrow rest up or down.
- Horizontal Adjustments: Adjusting the arrow rest left or right.
- Other Adjustments: Tweaking the draw weight, cam position, cam timing, cam lean, or arrow spine weight.
After each adjustment, shoot through the paper again to check for improvements.
7. Repeat as Necessary:
Continue shooting and adjusting until you achieve a clean tear.
This process can take time, so be patient.
8. Fine-tune With Multiple Distances (Optional):
Repeat the process at different distances to ensure consistent accuracy.
Additional Paper Tuning Resources
Need a little help analyzing your tear?
Check out GoldTip’s tune chart for some additional information and resources.
Conclusion:
Paper tuning a compound bow can seem intimidating at first, but with patience and practice, it can become an invaluable tool in your archery toolkit.
Remember, the key to successful paper tuning is consistency in your shooting form and a methodical approach to making adjustments.
Don’t hesitate to consult with experienced archers or professional bow techs at your local archery shop if you run into any difficulties.
Do you want to take your bow tech skills to the next level?
If so, check out our full OMP Bow Shop Video Library here!
For more information on archery and bowhunting, be sure to check out our full blog archive.
Also, make sure to connect with us on Facebook, Instagram, and YouTube to stay updated on the latest product information, new product announcements, sales, promotions, as well as contests, and giveaways!